Friday, November 27, 2009

A tale of two turkeys, or why I am the worst vegan ever.


Warning for vegans: raw turkey photos :( Totally not vegan friendly.


So I made 2 turkeys today. I made a real turkey and a tofurkey.

"But you are vegan" you say. "Why make a turkey?" I don't have an answer that covers every inch of the moral ground I stand on, so my easy answer is, well, it was free and I saw it as a challenge. But yeah, I'm not a good vegan at all.

I received a 14 pound turkey at work monday morning and it was frozen solid. It slowly thawed up until Thursday morning. In the days leading up to cooking day, I was going over different recipes and how to cook it. I mean, I've made chicken and pot roasts and stuff but a whole turkey was completely new to me. So come thanksgiving morning, I had an idea of what to do.

I woke up at about 8:30 am and tell husbinator to gut the turkey. Being a good husbinator, he does so. I think I would have been too grossed out. He later tells me about the blood that was in there and yeah, I would've freaked out.

So I step into the kitchen and there is my turkey.


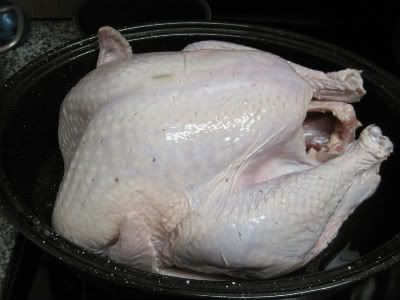
I will admit, it made me sad. Poor turkey. I couldn't look at the neck hole because I kept thinking about how it used to have a head. It got easier as I got used to handling it, but there was sadness over the turkey. However, like the title says, I am the worst vegan ever, so eventually I was OK.

Sophie, however, was ecstatic. I think she thought the turkey was chicken. She loves chicken.


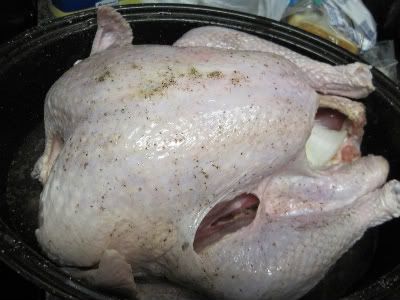
So Step one. Rub oil and salt and pepper all over the turkey. This required turning the turkey over which again, grossed me out. I then chopped up some onion, celery and garlic for the inside of the turkey. Then it was oven time.


It was going pretty well. At this point, I make some time to be superwife and I make my husband some eggs and bacon.

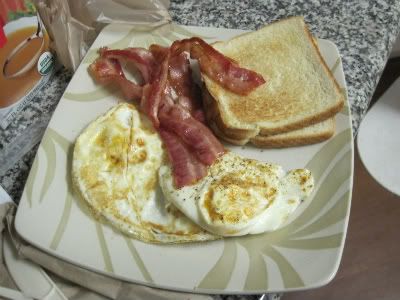
I always overcook eggs for some reason.


I was supposed to baste the turkey every 45 minutes with it's own juices, so I did that. About the 2nd basting, I thought, "what am I supposed to do with all those extra leftover veggies?"I doublecheck my recipe and they were supposed to go into the pan when I first put it into the oven.

Damn it.

So the next basting, in they went.


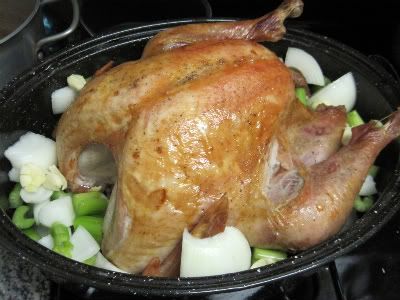
It looks like a real grown up turkey, right? So the next basting, it was time for a special step.


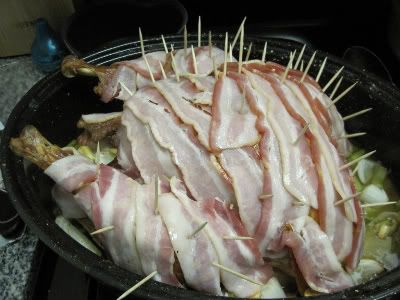
I wrapped the sucker in bacon.

Oh did I forget to mention I was making a bacon wrapped turkey recipe? Silly me. I must have forgotten that detail.

Back into the oven it went for an extra 30 minutes. In the mean time, it was finally time for turkey #2, aka the tofurkey.

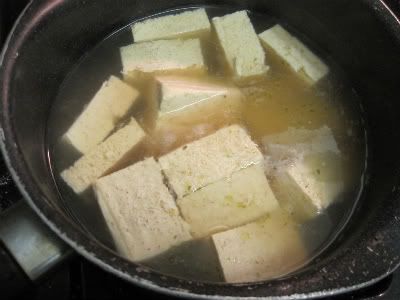
Tofurkey's have a much less dramatic presentation than real turkeys. A lot of people ask me what they look like. Well, mystery solved! Here is a tofurkey in the packaging:


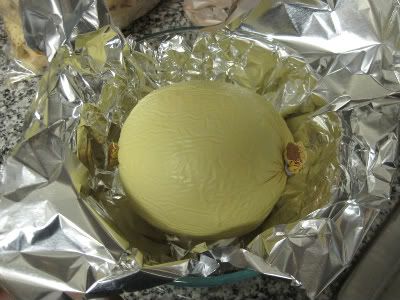
Kind of like a football without the pointy ends or something. They're good though. They also come with stuffing on the inside that we don't have to worry about, and that's kind of nice.

So to add flavor to a tofurkey, you need a baste. The box has 2 recipes on the box, but I use a combination of the two. My baste contains orange juice, soy sauce, garlic, olive oil and a bit of ginger.


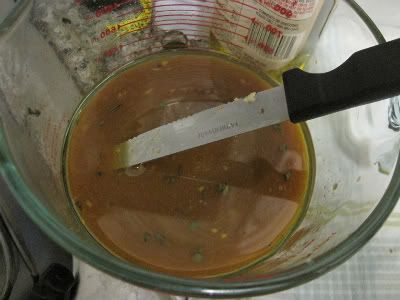
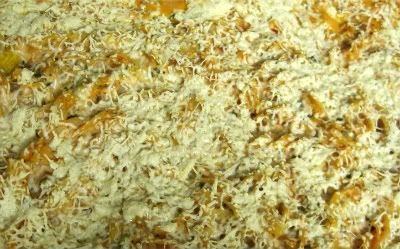
It's yummy. Here is my tofurkey basted:


I know. It doesn't take your breath away. But for a veggie, it is totally yummy.

So into the oven it went. Tofurkeys get baked covered at 350 for 1 hr and 15 minutes. Then it gets basted again and cooks for an extra 10 minutes uncovered.

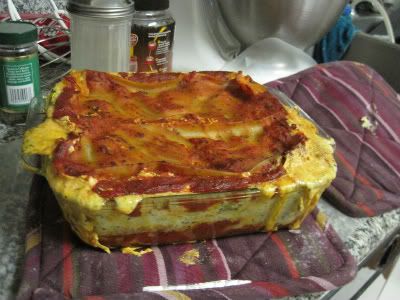
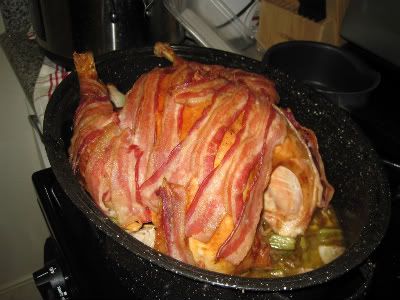
So how did the turkeys come out?

Bacon covered turkey:


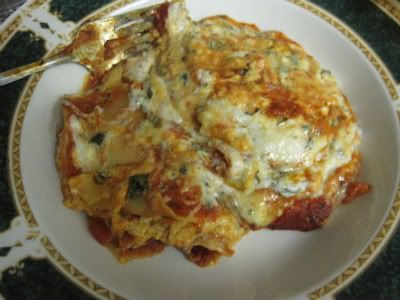
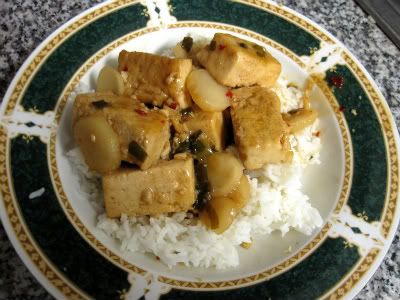
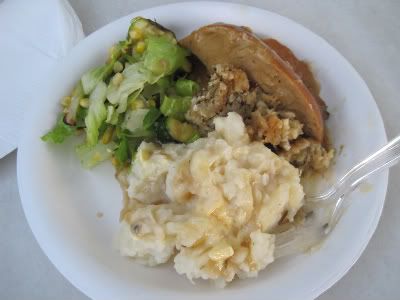
And my tofurkey dinner:


Happy Thanksgiving!

(btw, if you want to see the recipe for the bacon turkey, click here)

Sunday, November 15, 2009

Daiya cheese vegan lasagna and vegan cheesy pasta

Warning: This blog is not safe for people who don't like delicious food that may look like vomit.


Yes, I know. You are tired of hearing about the magic of Daiya vegan cheese. Unless you are vegan yourself, in that case you might be singing Daiya's praises along with me.

So my latest attempt, on Jess' suggestion was lasagna. Usually lasagna has beef and ricotta cheese and stuff (mmmm ricotta, I miss you.) No vegan ricotta out there that I know of, and I'm not really interested in an almond tofu mixture, so I improvised. I used the following:

Filling:
1/2 lb of italian Daiya, divided
1 package of tofutti Sour Supreme or another vegan sour cream
1 package of tofutti Better than Cream Cheese
1 cup of frozen spinach, prepared
Basil
Garlic
1/4 c margarine

1 jar tomato sauce (i used a basil marinara)
no bake lasagna noodles

Save 1/2 of the Daiya and mix the rest of the ingredients. I used my stand mixer for this, until it was all creamed together.

I then layered the sauce, noodles, mix, and the rest of the daiya. Bake according to your pasta's instructions.

Um. It was interesting results.


I probably should have had more layers. Was it pretty? No. Not really. That dinner was just a bowl of delicious cheese mixture with intermittent noodle pieces throughout.


The cheese was really goooooood though. SO I decided to try again, just with cooked noodles. So next time around, I made the mix, I cooked a pound of noodles (I think they were fuscilli noodles) and I mixed the drained noodles, cheese and tomato sauce. I topped it off with sprinkled daiya and baked at 350 for 30 minutes.


The results:


Hot vegan cheesy pasta deliciousness.


So that's it for this blog. Hopefully my melted over lasagna didn't make you vomit.

Stay tuned for upcoming special features:A Vegan Thanksgiving and Eating through Las Vegas with special guests, Jess and Adam! They're not vegan so there should be meaty food porn as well.

Tuesday, November 10, 2009

Freezing tofu, and making orange peel (style) tofu

Tofu.

Did you cringe? If you did, I am not surprised. I love it though. I hear people say it's flavorless and spongy, and that's true, that is part of the charm. You can use it I all kinds of stuff, and it just takes on the flavors whatever you cook it in.

One of my favorite dishes is Orange Peel Tofu from Pick Up Stix, a takeout chinese place. I was craving some the other day but I no longer live superclose to one and didn't feel like driving out of my way to get it, so I figured I could just make it.

Well you can't make Orange (style) tofu without tofu. Duh. Lucky for me, I keep tofu in the freezer for just such an occasion.


Oh yeah, I should tell you, tofu changes color when you freeze it It magically changes back when you thaw it. Appetizing, right? Yeah, I know. You can let it thaw in the fridge or do what I do and run it under hot water in the sink until it comes out of the packaging. Put your partially frozen tofu in a pot of simmering water or broth. I just chuck a boullion cube in the water. The nice thing about frozen tofu is that it absorbs more as it cooks than unfrozen.

After it's thawed and simmering away, you can cut it into cubes.


See? It's normal colored again.

While that's going on, you should make some rice. Because you are super busy (or lazy), use a rice cooker.


After some simmering in broth a while, your tofu can stop swimming. Heat up a skillet with some olive oil and sautee the suckers.


Yummy right? Now you can add some sauce. I used this recipe for Orange Style Tofu, mostly because I'm lazy and it was the easiest looking one I could find. It was pretty tasty though. I also threw in some water chestnuts because that's what they do at Pick Up Stix.

Wanna see?


I gotta say, I like it.

Sunday, November 1, 2009

Roasting pumpkins and pumpkin bread

Halloween week has been so busy! Aside from having to make some accessories for my Halloween costume (I was a Merlotte's Waitress a la True Blood), I had some baking to do. A coworker of mine has her birthday on Halloween (as well as my lovely non-local friend Kikiface , for whom I would totally make a cake if she comes down in December) I did my usual cake balls with orange candy and halloween themed sprinkles and wrappers. Sadly I did not photograph it though. I did make my awesome pumpkin bread though.

Now, I've made this a few times with canned pumpkin and I just don't like it as much that way. Occasionally I will find a hard crunchy bit in my bread and I can only blame the pumpkin for that, since it never happens when I roast my own pumpkins. So that's what I do, even though it turns my bread into a 2 day process. It's worth it, I think.

Roasting pumpkins is really easy. So the first thing you do is buy some sugar pumpkins, I think they also call them pie pumpkins. They're the smaller ones, like 6ish inches in diameter. All you do is slice them in half, remove the seeds, strings, and stem, (I usually dig a spoon under it and pop it off), cover in foil in a pan and bake for an hour or so at 375. Once that's done, let them cool, then scoop the flesh and mash it with a potato masher. Finally, put the mashy stuff into a colander lined in coffee filters or cheesecloth, let it drain in the fridge overnight. I usually put a clean plate with something heavy on top to help it drain more liquid. After all that is done, you have some fresh pumpkin puree that is way better than canned.

So I used my lovely pumpkin puree to make my favorite pumpkin bread recipe. I don't make it often enough, because of the obvious lack of pumpkins year round, but I am always super happy when I do.

Behold:


It's so spicy and yummy and cinnamony and good. If you can catch some pumpkins before they go out of style, you should definitely try it.